How to Assemble a Typical Drum Set
When we embark on the journey of putting together a drum set, we need to appreciate the different parts that work together harmoniously to produce an impeccable sound. In this segment, I will personally walk you through each phase of the assembly process while sharing valuable advice and insights. From selecting the perfect spot to arranging your drums and setting up cymbals, we will delve into every detail. Whether you’re just starting out as a drummer or an adept musician seeking fresh techniques, this article is here to help you. Get ready to unleash your inner rhythm because we are about to dive right in!
Step 1: Materials
To successfully assemble a drum kit, you’ll need to gather the necessary materials. Having everything on hand before you begin will ensure a smooth and efficient assembly process. Here are the materials needed for drum kit assembly:
- Drum Set: This includes all the drums, cymbals, stands, and hardware required for the kit.
- Drum Key: An essential tool for adjusting tension rods on drums.
- Bass Drum Pedal: Used to operate the bass drum with your foot.
- Throne (Drum Stool) : Provides a comfortable seat for the drummer during performance.
- Hi-Hat Stand: Holds the top and bottom hi-hat cymbals together.
- Tom Stands: Used to hold and position tom drums at appropriate heights.
- Snare Stand: Supports and positions the snare drum correctly.
- Cymbal Stands: Holds crash, ride, or other cymbals securely in place.
By gathering these materials beforehand, you’ll have everything you need to begin assembling your drum set without any interruptions or delays.
Step 2: Choose a Location
Choosing the right location for your drum set is an important step in assembling it. Finding a good spot will not only enhance your playing experience but also ensure that you don’t disturb others. Consider a few factors before selecting the location.
First, think about the space available in your room and how it will accommodate the drum set. Make sure there is enough room to move around comfortably while playing and that other furniture or obstacles won’t hinder your movements. I hope you can find a spot where the drum set won’t be crowded by other equipment or objects.
Next, think about the acoustics of the room. An open space with plenty of room will allow for better sound projection and resonance. Avoid rooms with high levels of echo or background noise that could interfere with your playtime.
Lastly, consider the comfort and convenience of the location for yourself as a drummer. Positioning the drum set closer to a wall can provide some support when playing fast beats, while leaving enough space on either side ensures you have enough shoulder clearance during intense sessions.
By taking these factors into account, you can choose a location that sets you up for success in terms of sound quality, comfort, and accessibility.
Step 3: Establishing the Bass
https://www.youtube.com/watch?v=Ns8mBoWgsSM
Setting up a drum set? Well, let’s start by establishing that bass - the drum that gives your beats that deep and powerful thump. Also known as the kick drum, it’s what adds groove and rhythm to your playing. So, to get that bass just right:
- Position the bass drum pedal in front of the bass drum, making sure it’s stable and secure.
- Place the bass drum where you want it on the floor, angling it slightly toward you for comfortable playability.
- Adjust the pedal’s height so that your foot can reach it without any strain.
- Attach one end of the bass drum beater to the pedal and connect the other end to the striking surface of the bass drum.
By following these steps, you’ll have a sturdy and well-positioned bass drum ready for your next jam session or performance. And with this solid foundation for your overall drum set setup, you can focus on creating impactful beats and grooves with ease.
So go ahead, unleash that thunderous kick!
Step 4: Set Up the Toms
https://www.youtube.com/watch?v=0GGnoXe6ABU
To properly set up the toms for your drum set, you’ll want to ensure they are positioned in a way that allows for comfortable and efficient playing. Here are the steps to follow:
1. Determine Placement: Start by deciding on the positioning of your toms. Generally, the smaller tom (known as the high tom) is placed above the bass drum on the left-hand side, while the larger tom (known as the low tom) is positioned on the right-hand side. Adjust the height and angle according to your preference.
2. Attach Toms: Using a drum key, attach each tom to its respective mounting bracket or arm. Make sure they are securely fastened to prevent any movement during play.
3. Adjust Position: Once attached, position each tom at a height that allows for comfortable arm movement and easy reach from your seated position behind the drum set. Aim for a slight downward angle towards where you will be hitting them with your sticks.
4. Fine-tune Tuning: Tune each individual tom using a drum key to achieve desired pitch and tone. Experiment with different tensions until you find what sounds best to you.
By following these steps, you’ll have your toms set up and ready to be played in no time! Remember, adjusting their positioning and tuning can greatly affect how they sound together as part of your overall drum set configuration.
Step 5: Set Up the Snare
https://www.youtube.com/watch?v=bcHAdV1c1\_0
To complete the assembly of your drum set, it’s time to set up the snare. The snare drum is a crucial component of any drum set, as it provides the sharp and distinctive sound that cuts through the music.
1. Positioning: Start by placing the snare stand in front of you, between your legs, at a comfortable distance from your body. Adjust the height so that the snare drum is level with your midsection when seated on the throne.
2. Attaching Snare Wires: Flip the snare drum over and locate the throw-off lever on one side and the butt plate on the other side. Attach one end of each snare wire to these mechanisms using their respective attachment points.
3. Placing Snare Drum: Carefully lift the snare drum and place it onto the stand, aligning its bottom rim with the three arms of the stand basket.
4. Adjusting Tension: Experiment with different tension levels by turning each snare wire’s strainer knobs until you achieve a desired sound – tight for crisp and sensitive or loose for a more open tone.
By following these steps, you can successfully set up your snare drum and be ready to play dynamic beats on this essential part of your drum set.
Step 6: Add the Throne
To complete the assembly of your drum set, the next step is to add the throne. The throne, also known as the drum seat, is where you will sit while playing the drums. It’s important to choose a comfortable and sturdy throne that provides proper support for your posture. When positioning the throne, make sure it is directly in front of the bass drum and at a height that allows your legs to be at a slightly bent position. This will enable you to play comfortably without straining your back or legs. Adjust the height of the throne by using the adjustment mechanism located beneath it. Once you have positioned the throne, securely attach it to its base or tripod stand using any included screws or hardware. Ensure that all connections are tightened properly to maintain stability throughout your drumming sessions. Remember, a proper seating position is essential for both comfort and technique when playing the drums. So make sure to choose a comfortable throne and adjust it according to your preference before you start rocking out!
Step 7: Hi-Hat Assembly
https://www.youtube.com/watch?v=lS4Y13chkxg
To assemble the hi-hat on your drum set, there are a few key steps you need to follow. Let’s dive in!
First, make sure you have all the necessary components: a hi-hat stand, two hi-hat cymbals, and the clutch. The hi-hat stand is responsible for holding and controlling the cymbals, while the clutch connects them together.
Begin by placing the bottom hi-hat cymbal on top of the stand. Ensure it sits securely on the designated holder. Next, take the clutch and slide it onto the hi-hat rod from below. Make sure it’s tight enough to prevent any movement during play.
Now it’s time to attach the top hi-hat cymbal to the clutch. Align it with care and tighten everything using a wing nut provided. Remember not to overtighten as it may affect the sound quality.
Once you’ve completed these steps, your hi-hat assembly is ready! The top cymbal will act as your playing surface, while opening and closing it with your foot pedal creates variations in sound intensity.
Take some time to experiment with different techniques and find what feels most comfortable for you.
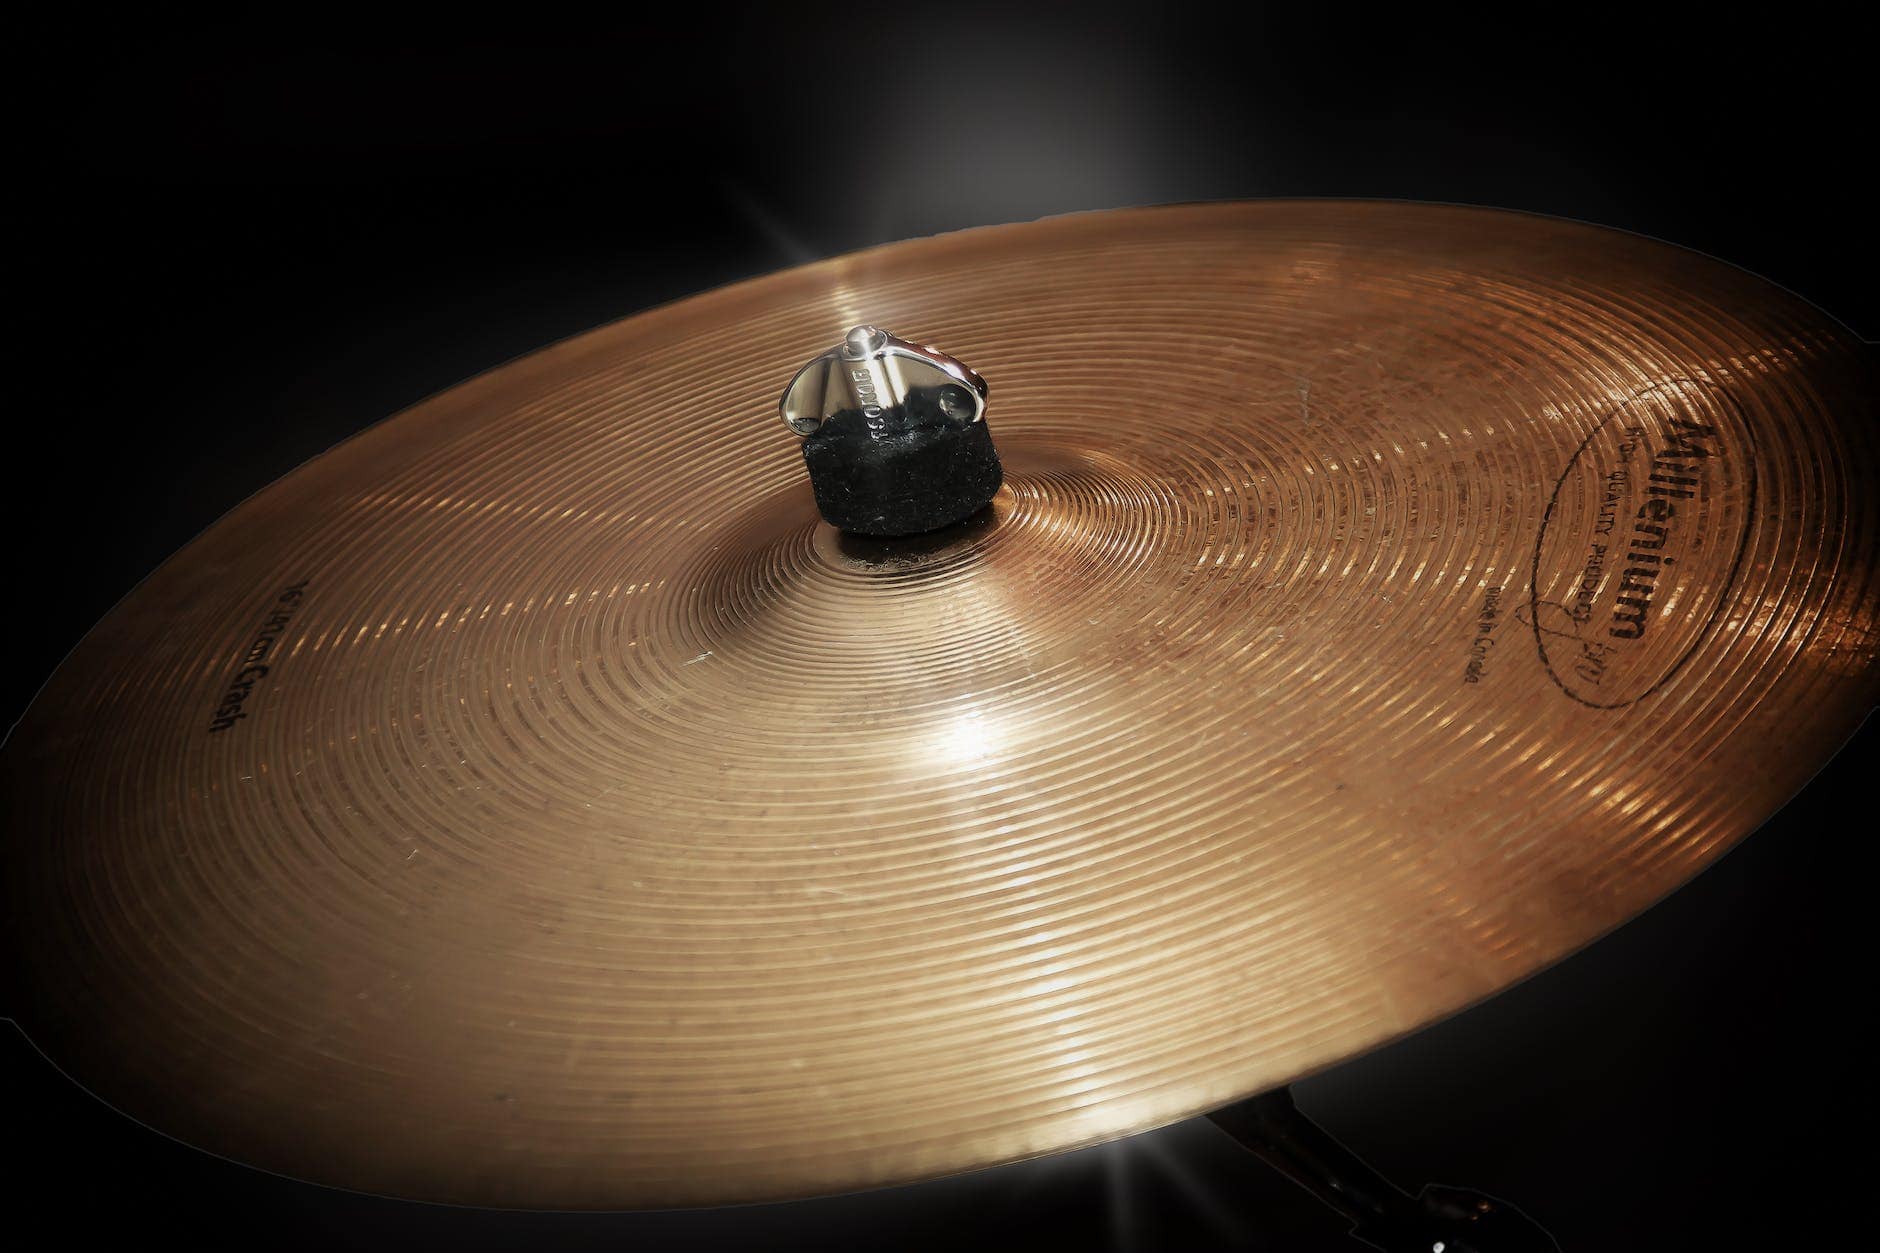
Step 8: Crash, Ride, and Crash/Ride Cymbals
https://www.youtube.com/watch?v=FWHLGTfpYhc
To complete your drum set, it’s time to add the crash, ride, and crash/ride cymbals. These cymbals are essential for creating a dynamic and versatile drum set sound. Here’s how you can set them up:
- Crash Cymbal: Place the crash cymbal on a good stand to ensure stability during play. Make sure that you have enough space for the cymbal to swing freely without hitting any other drums or stands. Adjust the height and angle of the cymbal according to your preference. The crash cymbal is typically used to add accents and emphasize certain beats in your drumming.
- Ride Cymbal: Next, assemble the ride cymbal using a sturdy stand. Position it on your drum set next to the ride tom for easy access while playing. Adjust the height and angle of the ride cymbal so that it feels comfortable when you hit it with your drumsticks. The ride cymbal produces a clear ping sound and is commonly used for maintaining rhythm and creating steady patterns.
- Crash/Ride Cymbals: If you have a crash/ride cymbal, this versatile piece will serve as both a crash and ride option in one instrument. Set it up similarly to a regular ride cymbal but experiment with different angles to find the desired sound characteristics.
Remember, each drummer has their own unique preferences when it comes to positioning their cymbals within their setup. So don’t be afraid to adjust their placement until they feel just right for you! With these additional components in place, your drum set is ready for an exciting performance or practice session.
Step 9: Arrangement
Now that you have set up all the individual components of your drum set, it’s time to arrange them in a way that suits your playing style and preferences. Proper arrangement of your drum set not only ensures comfort while playing but also affects the overall sound quality and projection.
One important aspect to consider is cymbal placement. The placement of cymbals can greatly impact their sound and playability. Experiment with different positions and angles to find what works best for you. For example, placing the ride cymbal slightly above and to the right of the floor tom allows for easy access during fills.
When arranging your drums, keep in mind ergonomics. Position everything within reach so that you can comfortably play without straining or stretching too much. Consider how each drum is positioned in relation to your body and other drums, ensuring a smooth transition between them.
Additionally, think about balance when arranging your drums. Distribute them evenly across your drum kit to maintain stability and prevent any unwanted movements during intense playing sessions. This will help ensure that both you and your drum set stay secure throughout.
Remember, every drummer has their own unique style, preference, and physical attributes. Feel free to experiment with different arrangements until you find what feels most comfortable and natural for you.
Step 10: Closing
Now that you have successfully set up your drum set, it’s time to wrap up the process with some closing steps. In this final stage, there are a few essential things to consider to ensure that your drum set is fully functional and ready for playing.
First, take a moment to inspect your setup. Check that all the drums, cymbals, and hardware are securely fastened and in their proper positions. Make any necessary adjustments to ensure everything is aligned correctly.
Next, give your drum set a quick tune-up if needed. Listen carefully for any drums or cymbals that may be out of pitch and make the necessary adjustments using a drum key. A well-tuned drum set will produce a balanced and pleasing sound quality.
Lastly, take a few minutes to organize your drum set accessories and tools. Keep them within easy reach so that you can quickly grab them during practice or performance sessions without interruption.
By following these closing steps, you are now ready to unleash your creativity on the drum set! Enjoy exploring different rhythms, techniques, and styles while making beautiful music.
Recommendations
When setting up your drum set, there are a few recommendations that can enhance your overall playing experience. Here are some important suggestions to consider:
- Consider the Sound Quality: To achieve the best sound quality, invest in a drum set with high-quality shells and heads. This will ensure optimal projection and tone.
- Experiment with Cymbals: Explore different cymbal options, such as crashes, rides, splashes, and china cymbals, to find the ones that complement your playing style and musical genre.
- Adjust Your Throne Height: Proper drum throne height is crucial for comfortable playing. Make sure it is adjusted so that your legs form a 90-degree angle when sitting.
- Ensure Drum Set Stability: Use memory locks on stands and tighten all wing nuts securely to prevent any unexpected shifting during intense playing sessions.
- Practice Sound Isolation Techniques: If you’re concerned about noise levels, explore soundproofing or dampening options to minimize disturbance while practicing at home or in shared spaces.
Following these recommendations will not only enhance the sound quality of your drum set but also contribute to improved comfort and stability during your performances. Keep experimenting and fine-tuning your setup until you find what works best for you!
FAQ
Conclusion
Setting up a drum set is no simple task. There’s so much to consider - from where to place the cymbals to how the drums are arranged, and of course, the overall sound quality. It’s a delicate balance between personal preference and practicality. But fear not! Whether you’re an intermediate drummer wanting to improve your sound projection or a beginner just looking to get better at your technique, these steps will help you assemble your drum set with ease.
One thing that often gets overlooked is the importance of the little details. So make sure you tighten those wing nuts, adjust those angles, and ensure that glorious metal-on-metal contact. Oh, and don’t forget about regular maintenance and proper storage! Taking care of your drum set will keep it in tip-top shape for years to come.
But it’s not all technical stuff - remember to have fun too! Play around with different styles, rhythms, and grooves to unlock new creative possibilities on your drum set. Let yourself loose as you venture into the exciting world of drumming!
I can’t stress enough how patience and practice are key here. Through these dedicated efforts, you’ll find yourself expressing your true self through the wonderfully dynamic sounds of your instrument. So go ahead, dive in and embrace this thrilling journey!
What materials do I need to assemble a drum set?
You will need a bass drum, tom-toms, a snare drum, a hi-hat, cymbals, a throne, and drumsticks.
Where is the best location to set up a drum set?
Choose a location that provides enough space for you to comfortably play the drums. It should be away from any fragile items and noise-sensitive areas.
How do I establish the bass drum?
Position the bass drum in the center and slightly tilted towards you. Use a bass drum pedal to attach the beater to the drumhead.
How do I set up the toms?
Place the tom-toms on the bass drum using the provided mounting brackets. Adjust the angle and height to your preference.
How do I set up the snare drum?
Place the snare drum on a snare stand between your legs. Adjust the height and angle for a comfortable playing position.
How do I assemble the hi-hat?
Attach the hi-hat stand to the bass drum using the provided hardware. Mount the hi-hat cymbals on the stand and adjust the tension to your liking.
How do I set up crash, ride, and crash/ride cymbals?
Use cymbal stands to position the cymbals near your drum set. Adjust the angle and height based on your preference.
In what order should I arrange the drums and cymbals?
The usual arrangement is bass drum, snare drum, tom-toms, hi-hat, crash cymbal, ride cymbal, and crash/ride cymbal.
Do you have any recommendations for assembling a drum set?
Make sure to follow the manufacturer’s instructions for assembly, take your time to adjust the drum heights and angles to your preference, and regularly maintain and tune your drums.